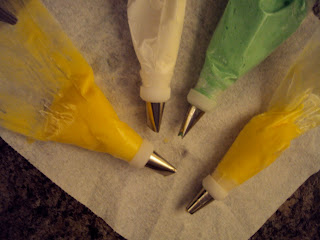
Tonight was the last class of my first Wilton Cake Decorating course.
Since Terence is out of town this week visiting his family in Florida, I decided to bring the cake to work, because honestly at this point it doesn't even sound good! I made a 9-inch double layered funfetti cake, smooth iced at home. As you can see I did get down that 90 degree angle on the edges, but it appears that I skimped too much on the icing and I think it looks a little bare. The 90 degree angle was achieved by using a blade to scrap the sides, THEN across the cake, not from the bottom of the sides up across the cake (like I did last week).
Throughout the course we have been learning parts of the Wilton rose technique. The base of the rose, built with a tip #12, and the petals in rows of 1, 3, 5, and 7, tip #104. You can even watch a how-to video on wilton.com. I can't say that I mastered the rose, there may have been some cursing, but I did end up getting a few good ones out. I eventually got the leaves to come out right as well, using tip # 352. Although the "leaf green" Wilton icing color looks more like neon green to me! After the centerpiece was in on the cake, I added some simple dots, tip #3, and a seashell border, tip #21 and voila!
Hope everyone enjoys work tomorrow!
Oh and if anyone is interested, Michael's is offering 50% off classes for the month of February.


No comments:
Post a Comment